The Best DIY Poison Ivy Remedy You Can Make at Home!
You can create an effective poison ivy remedy at home using natural ingredients like colloidal oatmeal, apple cider vinegar, and witch hazel. Mix these with soothing aloe vera and essential oils like tea tree in a glass container, then apply the solution 3-4 times daily to affected areas. This DIY treatment helps reduce itching, inflammation, and speeds healing. Learn the exact measurements and application techniques to maximize your remedy’s effectiveness.
Understanding Poison Ivy Rash and Its Symptoms
Contact with poison ivy triggers an allergic reaction that causes an itchy, red rash to develop within 24-48 hours of exposure.
You’ll notice small red bumps, blisters, and swelling in the affected area. The rash often appears in streaks or lines where the plant brushed against your skin.
If you’ve been exposed, you might experience intense itching, burning sensations, and mild pain. Your skin may feel warm to the touch and appear inflamed.
While the rash isn’t contagious, you can spread the plant’s oil to other parts of your body or to others if it remains on your skin, clothes, or tools.
The symptoms typically last 1-3 weeks, depending on your sensitivity and the amount of exposure.
Essential Ingredients for Your DIY Remedy
When treating a poison ivy rash at home, you’ll need several common household items that can help reduce itching and inflammation.
Start by gathering colloidal oatmeal, which you can find in most drugstores or make by grinding regular oatmeal into a fine powder. You’ll also want apple cider vinegar, baking soda, and cool water for creating soothing compresses.
Don’t forget to include calamine lotion in your remedy kit – it’s a tried-and-true solution that most of us remember from childhood.
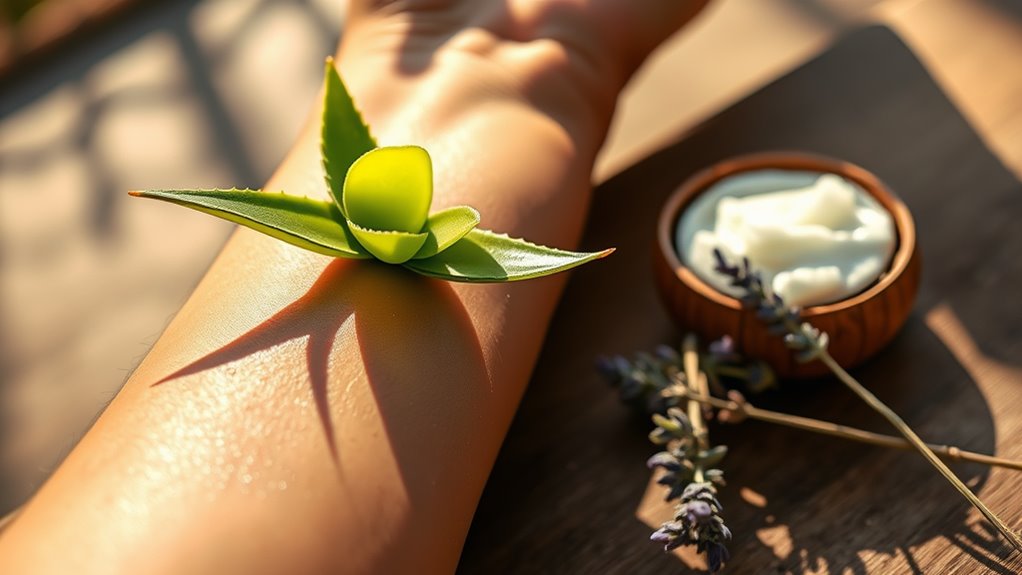
For extra relief, collect aloe vera (fresh from the plant is best, but store-bought works too), tea tree oil, and witch hazel. These natural ingredients work together to create a powerful healing combination that many experienced hikers and outdoor enthusiasts rely on.
Step-by-Step Mixing Instructions
Creating your DIY poison ivy remedy requires careful mixing of the ingredients in three simple steps. You’ll want to follow these instructions precisely to ensure maximum effectiveness for your relief solution.
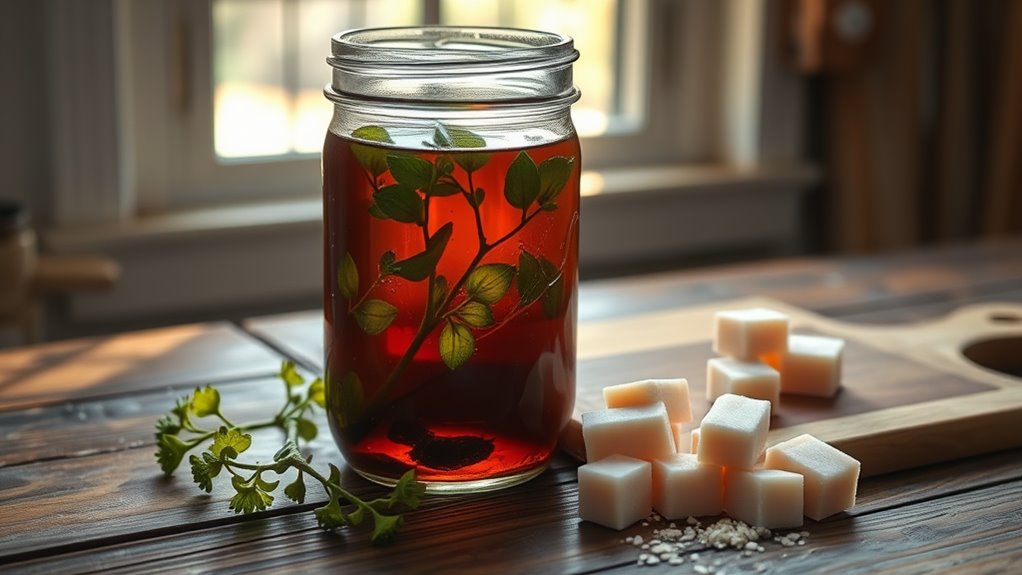
First, combine the witch hazel and apple cider vinegar in your glass mixing bowl. Next, add your essential oils and stir gently until well blended. Finally, transfer the mixture to your spray bottle using a funnel.
| Time | Symptoms | Relief Level |
|---|---|---|
| 1 hr | Itching | Moderate |
| 2 hrs | Redness | Significant |
| 4 hrs | Swelling | High |
| 8 hrs | Burning | Complete |
| 24 hrs | All | Long-lasting |
Store your remedy in a cool, dark place and shake well before each use. You’ll join countless others who’ve found success with this natural solution that delivers quick, soothing relief.
How to Apply Your Homemade Treatment
To get the most relief from your homemade poison ivy remedy, proper application is crucial.
First, gently cleanse the affected area with lukewarm water and mild soap. Pat your skin dry with a clean towel, being careful not to rub or irritate the rash.
Using clean fingers or a cotton ball, apply a thin layer of your remedy directly to the rash. Don’t oversaturate the area – a little goes a long way.
You’ll want to repeat this process 3-4 times daily, especially before bedtime when itching tends to worsen. If you’re treating hard-to-reach spots, ask a family member to help you apply the mixture.
Remember to wash your hands thoroughly after each application to prevent spreading the oils to other parts of your body or household surfaces.
Natural Ingredient Benefits and Properties
Natural ingredients offer powerful healing properties for poison ivy rash relief because they contain specific compounds that target inflammation and itching.
You’ll find that witch hazel contains tannins that reduce swelling, while aloe vera’s polysaccharides soothe irritated skin and accelerate healing.
Apple cider vinegar’s acetic acid helps dry out the rash and neutralize the urushiol oil that causes the reaction.
Essential oils like tea tree and lavender provide antimicrobial protection and itch relief through their natural antihistamine properties.
Cucumber’s high water content and vitamin C cool the skin, while oatmeal’s avenanthramides directly combat inflammation.
Baking soda’s alkaline nature helps restore your skin’s pH balance and creates an environment where healing can thrive.
These ingredients work together synergistically to provide maximum comfort and recovery.
Safety Precautions and Storage Tips
Safe handling of DIY poison ivy remedies requires proper precautions to prevent contamination and maintain effectiveness. You’ll want to store your remedy properly and handle it carefully to ensure it stays potent and safe to use whenever you need it.
-
Store your remedy in an airtight, dark-colored glass container to protect it from light and oxidation.
-
Keep your mixture in a cool, dry place between 60-70°F, away from direct sunlight and heat sources.
-
Label your container with the date of preparation and ingredients used, so you’ll know when it’s time to make a fresh batch.
-
Always wash your hands before and after handling the remedy, and use clean utensils when applying it to affected areas.
Remember to discard any unused portion after 6 months, as natural ingredients can lose their healing properties over time.
When to Seek Medical Attention
While most poison ivy rashes can be treated effectively at home, certain symptoms indicate you’ll need immediate medical attention. You should head to the emergency room if you develop a fever over 100°F, have difficulty breathing, or notice pus-filled blisters that ooze yellow fluid. These could signal a dangerous infection requiring antibiotics.
Don’t hesitate to call your doctor if the rash spreads to sensitive areas like your eyes, mouth, or genitals. You’ll also want medical help if your rash covers more than 25% of your body or hasn’t improved after a week of home treatment.
If you’ve accidentally inhaled smoke from burning poison ivy plants, seek immediate care as this can cause severe respiratory problems. Many of us have experienced mild cases, but it’s crucial to recognize when professional help is needed.
Frequently Asked Questions
Can I Use This DIY Remedy on My Pets if They Get Poison Ivy?
You shouldn’t use DIY remedies on your pets with poison ivy. It’s best to contact your vet, who’ll recommend pet-safe treatments and prevent any harmful reactions to homemade solutions.
How Long Does the Homemade Remedy Stay Effective in Storage?
You’ll want to make a fresh batch every few weeks. While it’s good for about a month when stored in a cool, dark place, it’s most effective when newly prepared.
Will This Remedy Work for Poison Oak and Poison Sumac Too?
You’ll be relieved to know this remedy works well on poison oak and poison sumac, since all three plants contain the same irritating oil, urushiol, that causes those uncomfortable rashes.
Can I Apply This Treatment to Broken or Bleeding Poison Ivy Blisters?
Don’t apply any DIY treatments to broken blisters, as they can lead to infection. You’ll want to keep the area clean and see your doctor for proper medical care.
Should I Wash the Affected Clothing Separately From Regular Laundry?
You’ll definitely want to wash contaminated clothes separately. The oil from poison ivy can spread to other garments, so wash them in hot water with regular detergent right away.