The Best DIY Face Mask for Wrinkle-Free Skin!
You can make a potent anti-aging face mask using natural ingredients right from your kitchen. Mix 2 tablespoons of honey with a mashed avocado, add a teaspoon of lemon juice, and 3 drops of vitamin E oil for a powerful wrinkle-fighting treatment. Apply to clean skin for 15-20 minutes twice weekly to boost collagen production and lock in moisture. Master this simple recipe, and discover even more ways to enhance your natural skincare routine.
Understanding the Science Behind Anti-Aging Face Masks
Before diving into specific DIY face mask recipes, you’ll need to understand how anti-aging ingredients work at the cellular level. Your skin naturally produces collagen and elastin, two proteins that keep your complexion firm and supple. As you age, this production slows down, leading to fine lines and wrinkles.
The right anti-aging ingredients can boost your skin’s renewal process. Antioxidants protect against free radical damage, while peptides stimulate collagen production. Vitamins A, C, and E promote cell turnover and repair environmental damage.
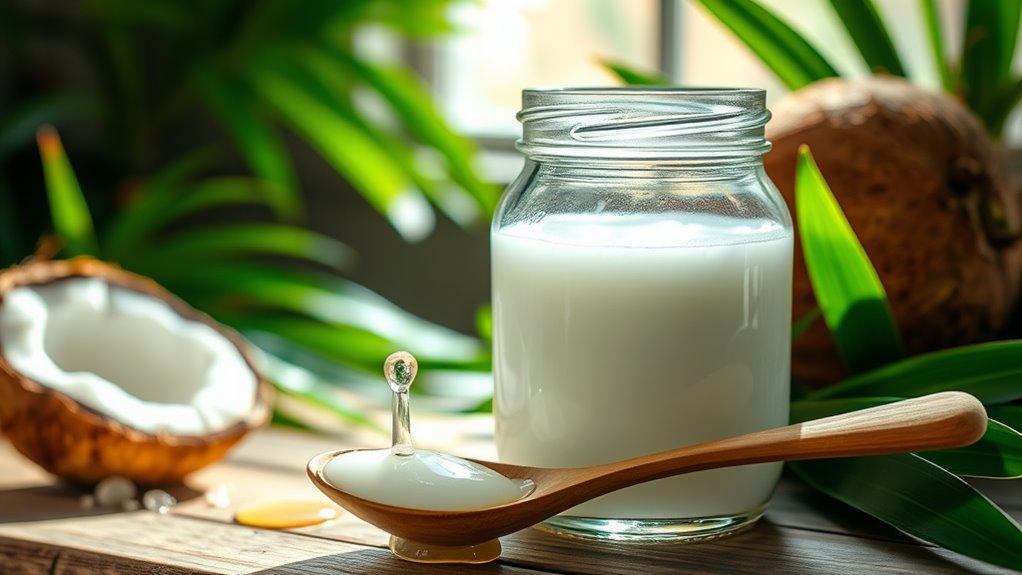
Natural ingredients like honey and yogurt contain enzymes that gently exfoliate dead skin cells, while oils rich in fatty acids help restore your skin’s moisture barrier. Understanding these components will help you create masks that effectively target your aging concerns.
Essential Natural Ingredients for Your DIY Wrinkle-Fighting Mask
When creating an effective anti-aging face mask at home, you’ll need specific natural ingredients that pack a powerful punch against wrinkles.
Start with vitamin C-rich ingredients like mashed papaya or lemon juice to boost collagen production. You’ll also want to include honey, a natural humectant that locks in moisture and fights free radicals.
Don’t forget powerful antioxidants like mashed avocado and green tea, which protect your skin from environmental damage.
Egg whites are perfect for tightening skin, while yogurt’s lactic acid provides gentle exfoliation. Add a few drops of vitamin E oil to nourish and repair skin cells.
Mix these age-defying ingredients with natural clays like kaolin or bentonite to create a mask that’ll help you achieve that youthful glow you’re looking for.
Step-by-Step Recipe and Application Guide
Making your own anti-aging face mask is surprisingly simple once you’ve gathered all the necessary ingredients. Follow this easy recipe to create your rejuvenating mask at home and join thousands of others who’ve discovered the power of natural skincare.
| Step | Action |
|---|---|
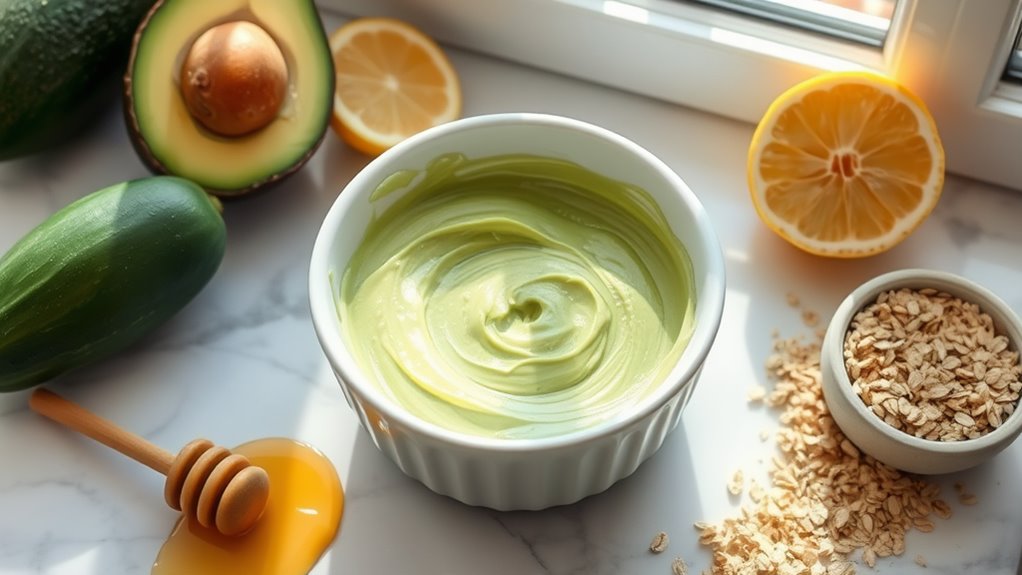
| 1 | Mix 2 tbsp honey with 1 mashed avocado |
| 2 | Add 1 tsp lemon juice and 3 drops vitamin E oil |
| 3 | Stir until smooth and creamy |
Apply the mask to clean, dry skin using gentle upward motions. You’ll want to leave it on for 15-20 minutes while you relax. Rinse with lukewarm water, then splash with cool water to close your pores. Pat your face dry with a soft towel and follow with your favorite moisturizer. Use this mask twice weekly for best results.
Tips for Maximum Effectiveness and Best Results
To get the most from your homemade anti-aging mask, timing and preparation can dramatically boost its effectiveness.
Apply the mask after cleansing your face with warm water to open your pores. For optimal absorption, steam your face for 5 minutes before application.
Don’t rush your masking routine – this is your time to nurture your skin. Leave the mask on for 15-20 minutes, but don’t let it dry completely. If you feel any tingling or discomfort, remove it immediately.
Always follow with your favorite moisturizer while your skin is still slightly damp.
Use the mask twice weekly for best results, preferably in the evening when your skin’s regeneration process is most active.
Store any leftover mixture in an airtight container in the refrigerator for up to three days.
Common Mistakes to Avoid When Making Your Face Mask
Although creating a DIY face mask may seem straightforward, several common mistakes can reduce its effectiveness or potentially irritate your skin.
Like many skincare enthusiasts, you’ll want to avoid these pitfalls to get the most from your anti-aging treatment.
-
Don’t mix ingredients without measuring them properly – eyeballing portions can lead to an imbalanced mask that might be too harsh or ineffective.
-
Never skip the patch test on your inner arm, even if you’ve used the ingredients before – combinations can react differently on your skin.
-
Avoid storing your DIY mask for later use unless you’re adding natural preservatives – bacteria can grow quickly in homemade skincare products, leading to breakouts and skin issues.
Storage and Shelf Life Recommendations
Proper storage practices directly impact the safety and effectiveness of your DIY face mask.
Store your freshly made mask in an airtight glass container and keep it in a cool, dark place away from direct sunlight. You’ll want to refrigerate masks containing fresh ingredients like yogurt, honey, or fruit.
Label your container with the date you made the mask and its ingredients. Most DIY masks will stay fresh for 24-48 hours in the fridge, while dry powder masks can last up to two weeks when stored properly.
If you notice any changes in color, texture, or smell, it’s time to toss it and make a new batch.
Never freeze your face mask, as this can alter its consistency and reduce its beneficial properties.
Additional Skincare Practices to Enhance Results
While DIY face masks can work wonders for your skin, combining them with complementary skincare practices will maximize their anti-aging benefits.
You’ll notice more dramatic improvements when you integrate these proven techniques into your regular beauty routine along with your homemade masks.
-
Stay hydrated by drinking at least 8 glasses of water daily and using a quality moisturizer immediately after cleansing. This helps maintain skin elasticity and plumpness.
-
Get 7-9 hours of beauty sleep on a silk pillowcase to prevent sleep lines and reduce friction that can lead to wrinkles.
-
Practice facial yoga exercises for 10 minutes daily to tone muscles and improve circulation, focusing on areas prone to wrinkles like the forehead, eyes, and mouth.
Frequently Asked Questions
Can I Use This Face Mask if I Have Sensitive or Acne-Prone Skin?
You’ll want to patch test any mask first on your sensitive skin. Keep ingredients simple and natural, avoiding harsh additives. If you’re acne-prone, stick to non-comedogenic ingredients.
How Often Should I Patch Test New Ingredients Before Applying the Mask?
You’ll want to patch test new ingredients for at least 24-48 hours on a small area of your inner arm or behind your ear before using them in your skincare routine.
What Age Is Recommended to Start Using Anti-Aging Face Masks?
You can start using anti-aging masks in your mid-20s, when collagen production naturally slows down. Don’t wait for wrinkles to appear – prevention’s your best strategy for maintaining youthful skin.
Can I Combine This DIY Mask With My Regular Chemical Exfoliants?
You shouldn’t mix chemical exfoliants with DIY masks – it’s best to space them out. Use your exfoliants on different days to avoid irritation and let your skin fully benefit from each treatment.
Is It Safe to Use This Mask While Pregnant or Breastfeeding?
You’ll want to check with your healthcare provider before trying any new skincare treatments during pregnancy or breastfeeding, as some ingredients might not be safe for your baby.