Say Goodbye to Back Acne With This Natural Remedy!
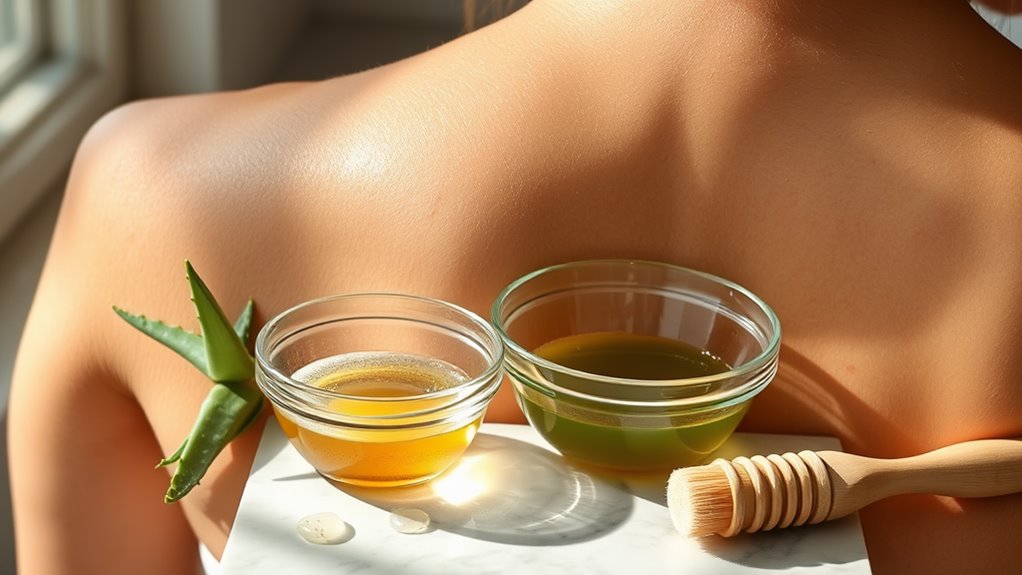
You can banish stubborn back acne with a powerful natural remedy that combines tea tree oil, raw honey, and aloe vera. This gentle yet effective treatment fights bacteria, reduces inflammation, and promotes healing while balancing your skin’s pH levels. Simply mix the ingredients, apply to affected areas for 15 minutes, and rinse. Pair this solution with smart lifestyle changes like wearing breathable fabrics and showering post-workout to discover your path to clear, healthy skin.
Understanding Back Acne: Causes and Triggers
Although back acne shares similarities with facial acne, it often develops due to unique factors related to the back’s skin environment. Your back’s skin is thicker and has more oil glands than facial skin, making it prone to clogged pores and breakouts.
When you sweat during exercise or daily activities, tight clothing can trap moisture against your skin, creating the perfect breeding ground for acne-causing bacteria.
Common triggers include wearing non-breathable synthetic fabrics, not showering promptly after workouts, using pore-clogging body lotions, and carrying heavy backpacks that create friction.
You’ll also find that hormonal changes, stress, and genetics play significant roles in back acne development. Understanding these triggers helps you make informed choices about your skincare routine and lifestyle habits to prevent future breakouts.
Essential Natural Ingredients for Back Acne Treatment
Now that you know what causes back acne, you can target these issues with powerful natural ingredients.
Tea tree oil stands out as nature’s antimicrobial warrior, effectively killing acne-causing bacteria.
Apple cider vinegar helps balance your skin’s pH while reducing inflammation, making it a must-have in your natural treatment arsenal.
Don’t overlook the soothing properties of aloe vera, which reduces redness and promotes healing.
Witch hazel acts as a natural astringent, tightening pores and preventing future breakouts.
Green tea extract offers powerful antioxidants that fight inflammation and free radicals.
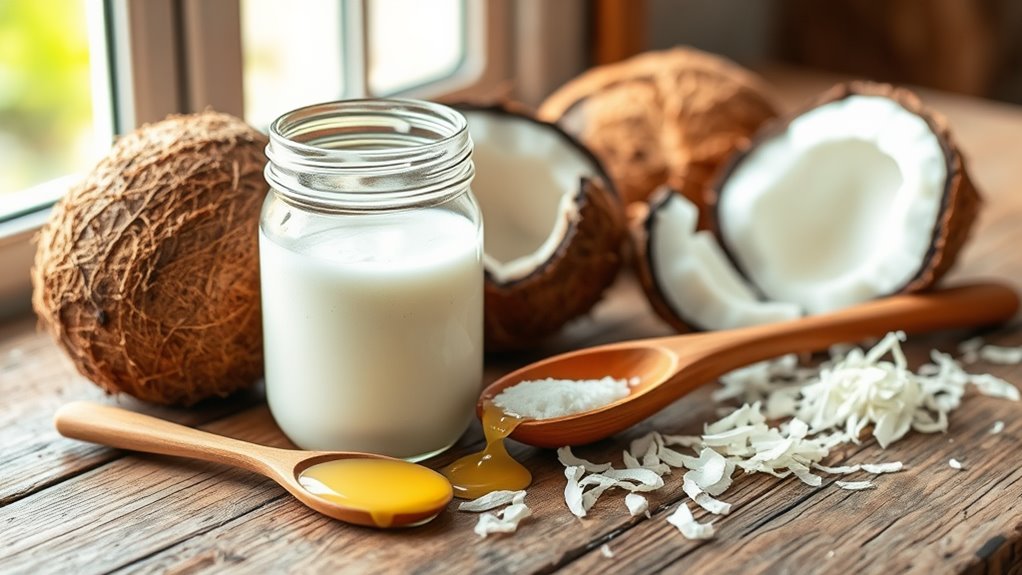
For gentle exfoliation, combine raw honey with ground oatmeal – this duo removes dead skin cells while moisturizing and calming irritated skin.
These ingredients work together to give you the clear, healthy back you deserve.
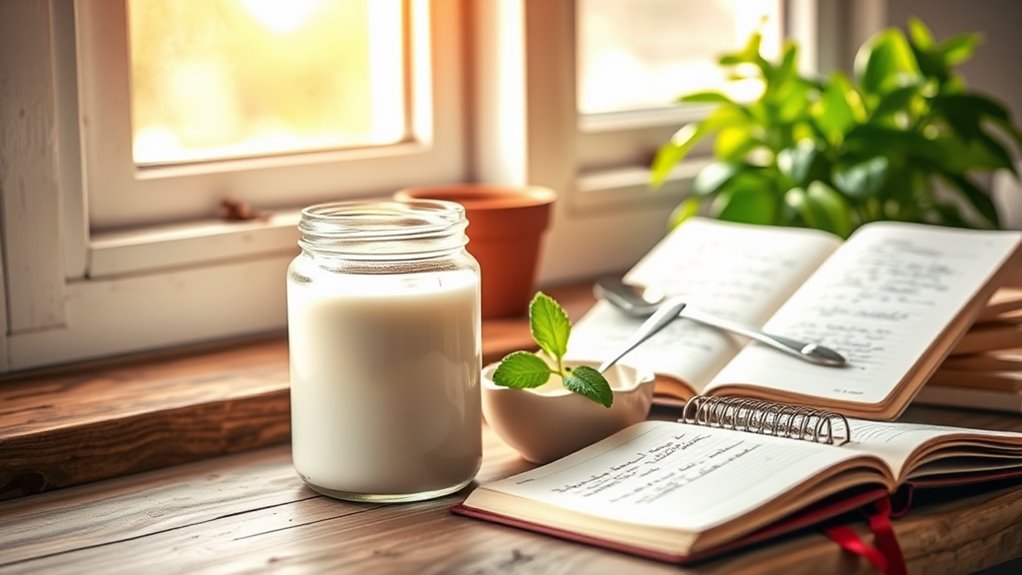
Creating Your DIY Back Acne Solution
With the right natural ingredients on hand, you’ll find creating your own back acne treatment is both simple and cost-effective.
Mix 2 tablespoons of raw honey with 1 tablespoon of tea tree oil and 3 drops of lavender essential oil in a small glass jar. Add 1/4 cup of aloe vera gel and stir until well combined.
You’re now part of a growing community that’s embracing natural skincare solutions.
Apply your mixture to affected areas using a soft brush or spray bottle, which helps reach those tricky spots on your back. Let it sit for 15 minutes before rinsing with lukewarm water.
Store your remedy in a cool, dark place and use it daily for best results. You’ll notice improvement within a few weeks of consistent use.
Step-by-Step Application Guide
Proper application of your homemade back acne treatment ensures maximum effectiveness and consistent results.
First, take a warm shower to open your pores and cleanse your skin thoroughly. Pat your back dry with a clean towel.
Using clean hands or a soft applicator brush, gently apply your natural mixture in circular motions, covering all affected areas. Let the treatment sit for 15-20 minutes – this is your perfect time to practice mindfulness or catch up on your favorite podcast.
Rinse thoroughly with lukewarm water and pat dry. For best results, apply this treatment 2-3 times weekly before bedtime.
Remember to wear loose, breathable clothing afterward and use clean sheets to prevent bacteria from recontacting your skin.
Lifestyle Changes to Prevent Future Breakouts
Maintaining clear skin requires more than topical treatments alone, so implementing key lifestyle changes can significantly reduce future back acne breakouts.
You’ll want to shower immediately after sweating, using loose-fitting, breathable workout clothes that won’t trap moisture against your skin. Switch to natural, fragrance-free laundry detergent and wash your sheets weekly to minimize bacteria buildup.
Your diet plays a crucial role too. Cut back on dairy and high-glycemic foods while increasing your water intake to at least eight glasses daily.
You’re not alone in this journey – many of us have found that getting 7-8 hours of sleep and managing stress through meditation or yoga makes a noticeable difference in skin health.
Remember to keep your hair off your back, especially if you use heavy conditioners or styling products.
What to Expect During the Healing Process
Once you’ve made these positive lifestyle adjustments, understanding the healing timeline will help you stay motivated.
You’ll notice your skin becoming less inflamed within the first week, though some redness may persist. Don’t worry – this is normal!
During weeks two to three, you’ll see existing blemishes starting to fade, though new spots might still appear as your skin purges toxins.
By week four, you’ll experience fewer breakouts, and your skin will feel smoother to the touch.
Complete healing typically takes six to eight weeks. Throughout this journey, you might’ve good days and setbacks – that’s part of the process.
Additional Tips for Long-Term Skin Care Success
To sustain the progress you’ve made in clearing your back acne, integrating a few key practices into your daily routine will help prevent future flare-ups. You’ll want to focus on both internal and external factors that contribute to skin health.
| Daily Habits | Long-Term Benefits |
|---|---|
| Change sheets weekly | Reduces bacteria exposure |
| Shower after workouts | Prevents pore blockage |
| Stay hydrated | Supports skin renewal |
| Manage stress | Balances hormones |
Remember to wear loose-fitting, breathable clothing and avoid touching your back unnecessarily. If you’re using any acne-fighting products, stick to your regimen consistently rather than only when breakouts occur. Join our community’s discussion forum to share your journey and learn from others who’ve successfully maintained clear skin using these natural approaches.
Frequently Asked Questions
Can This Remedy Be Used on Facial Acne Too?
You’ll want to be cautious using back acne treatments on your face since facial skin is more sensitive. It’s best to use products specifically formulated for facial acne instead.
Is It Safe to Use This Treatment While Pregnant or Breastfeeding?
You’ll want to check with your healthcare provider before trying any new treatments during pregnancy or breastfeeding. Many natural ingredients can still affect your baby’s development.
How Long Can I Store the DIY Solution Before It Expires?
You’ll want to use your DIY solution within 1-2 weeks when stored in the fridge. For best results, make small batches and watch for any changes in color or smell.
Will This Treatment Help Fade Existing Back Acne Scars?
While this remedy can help fade mild acne scars over time, you’ll see the best results when you combine it with other natural treatments like aloe vera and vitamin E oil.
Can I Swim or Exercise Immediately After Applying the Treatment?
You’ll want to wait 30 minutes after applying the treatment before swimming or exercising. This gives it time to absorb properly and ensures you’ll get the best results.