How to Make Homemade Apple Cider Vinegar Like a Pro!
You can make delicious apple cider vinegar at home with just organic apples, filtered water, and raw honey or sugar. Start by cutting washed apples into chunks, leaving the skins on for beneficial bacteria. Cover the fruit with water in a large glass jar, add sweetener, and cover with a breathable cloth. Let it ferment for 3-4 weeks until the liquid clarifies, then strain and bottle. Discover how this simple process transforms kitchen scraps into liquid gold.
The Amazing Benefits of Making Your Own Apple Cider Vinegar
While store-bought apple cider vinegar offers many health benefits, making your own allows you to control the quality and purity of ingredients.
You’ll know exactly what goes into your vinegar, ensuring it’s free from additives and preservatives that often appear in commercial versions.
When you craft your own apple cider vinegar, you’re joining a community of health-conscious individuals who value natural, sustainable living.
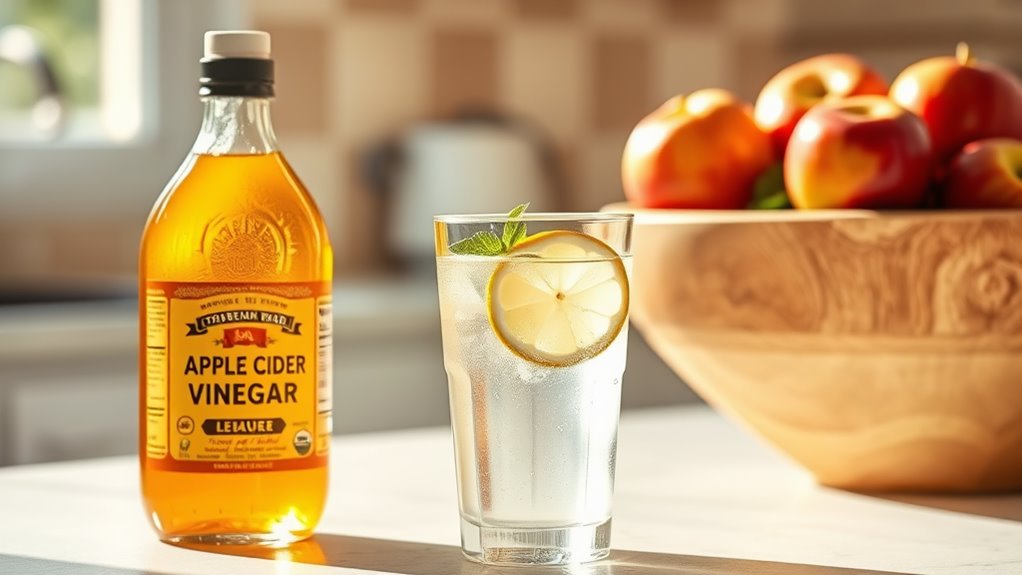
You’ll save money by transforming simple apple scraps into a versatile product that’s perfect for cooking, cleaning, and wellness routines.
Plus, you’ll reduce waste by using apple cores and peels that might otherwise be discarded.
Your homemade vinegar will contain beneficial compounds like “the mother” – the cloudy substance full of probiotics and enzymes that many commercial brands filter out.
Essential Equipment and Ingredients You’ll Need
Getting started with homemade apple cider vinegar requires just a few basic supplies and ingredients.
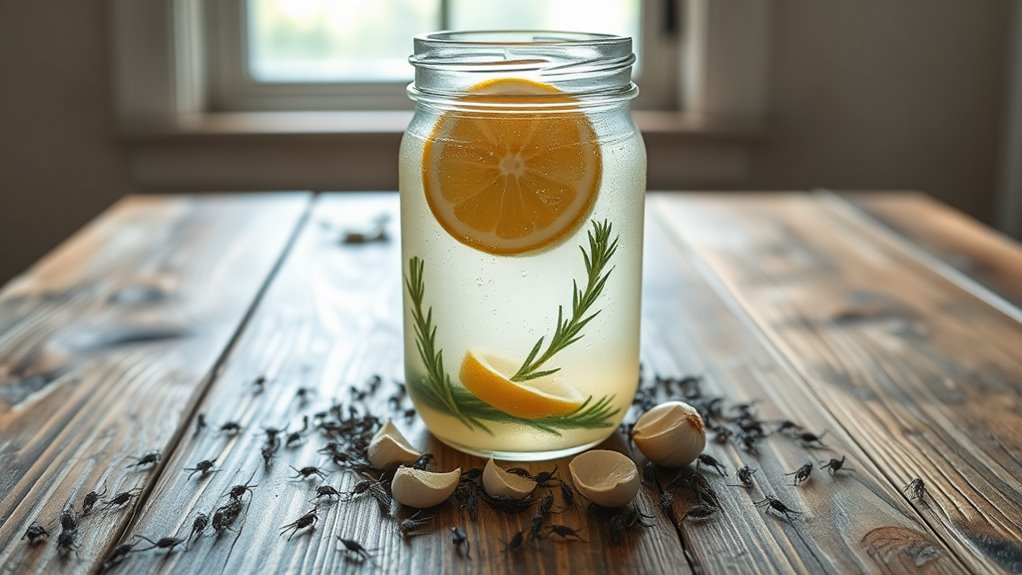
You’ll need fresh, organic apples, filtered water, and raw sugar or honey. Make sure you’ve got a large glass jar with a wide mouth – this will be your fermentation vessel. A breathable cloth cover and rubber band are essential to keep out insects while allowing airflow.
For the process, you’ll want a wooden spoon for stirring, a sharp knife for cutting apples, and a kitchen scale to measure ingredients accurately.
Don’t forget pH testing strips to monitor fermentation progress. If you’re planning to store your vinegar, grab some glass bottles with airtight lids.
Most of these items are probably already in your kitchen, making this an accessible project for any home fermenter.
Choosing and Preparing the Perfect Apples
Since the quality of your vinegar depends heavily on your choice of apples, selecting the right ones is crucial.
You’ll want to use ripe, organic apples with no signs of mold or bruising. Sweet varieties like Fuji, Gala, or Honeycrisp work wonderfully, but don’t hesitate to mix different types for a more complex flavor.
Once you’ve picked your apples, wash them thoroughly under cool water. Remove any stems and cut out damaged spots.
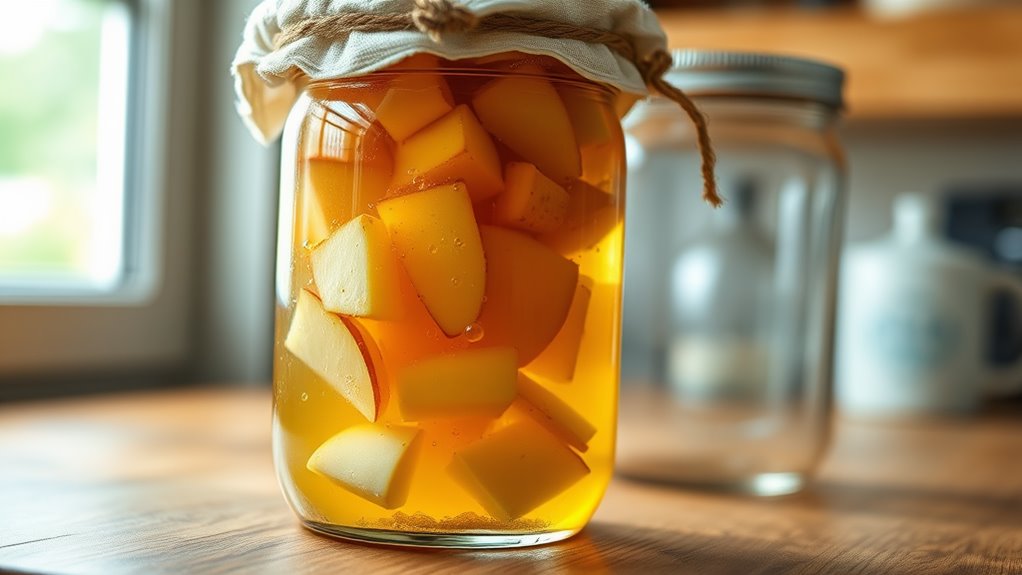
You can choose to core your apples or leave the cores in – many home brewers include the cores since they contain natural pectin. Cut the apples into roughly 1-inch chunks to increase their surface area.
Don’t worry about peeling them, as the skins contain beneficial bacteria that will help with fermentation.
The First Fermentation: Creating Hard Apple Cider
Before your apples can become vinegar, they’ll need to undergo their first fermentation into hard cider. Place your chopped apples in a large glass container and cover them with filtered water, leaving about 2 inches of headspace. Add raw honey or organic sugar to feed the natural yeasts.
| Days | Signs of Progress | Action Needed |
|---|---|---|
| 1-3 | Bubbles form | Stir twice daily |
| 4-7 | Foam appears | Keep submerged |
| 8-14 | Color darkens | Check for mold |
| 15-21 | Liquid clarifies | Strain fruit |
Cover your container with a breathable cloth and secure it with a rubber band to keep out insects while allowing airflow. Store in a dark place at room temperature (65-75°F). You’ll notice the liquid becoming increasingly alcoholic as the natural sugars convert to alcohol over 2-3 weeks.
The Second Fermentation: Transforming Cider Into Vinegar
Once your hard cider is ready, it’s time to transform it into vinegar through acetic acid fermentation.
You’ll need to expose your cider to oxygen and introduce acetobacter bacteria, which will convert the alcohol into acetic acid.
Start by transferring your cider to a wide-mouthed container and covering it with a breathable cloth to keep out debris while allowing airflow.
Add raw, unpasteurized apple cider vinegar with “the mother” as your starter culture.
Keep your fermenting vinegar in a dark place at room temperature (around 70°F).
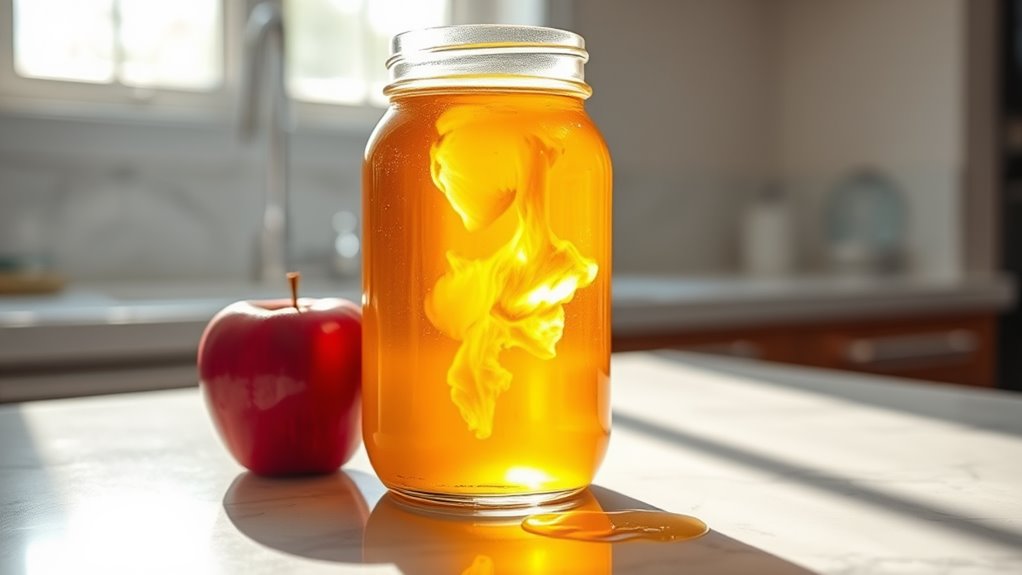
You’ll notice a gelatinous film forming on top – that’s the mother developing.
Let the mixture ferment for 3-4 weeks, tasting weekly until it reaches your desired acidity.
Proper Storage and Preservation Methods
After your homemade apple cider vinegar reaches the desired acidity, you’ll need to filter and bottle it properly for long-term storage.
Pour the vinegar through a fine-mesh strainer or cheesecloth to remove the mother and any sediment. Transfer it into sterilized glass bottles or jars with airtight lids.
Store your vinegar in a cool, dark place away from direct sunlight, like a pantry or kitchen cabinet. While vinegar doesn’t technically expire, keeping it below 85°F (29°C) helps maintain its quality.
The mother may continue to form during storage – this is normal and beneficial. If you notice another mother forming, you can either leave it in or strain it out.
Label your bottles with the date, and your homemade vinegar will keep its quality for up to two years.
Common Problems and Troubleshooting Tips
Making homemade apple cider vinegar can present three common challenges: mold growth, slow fermentation, and weak acidity.
If you spot white or green mold on your fermenting liquid, remove it immediately and check if your container is properly sealed.
For slow fermentation, try moving your container to a warmer spot (70-80°F) and ensure you’re using organic apples without preservatives.
When your vinegar’s acidity seems weak, you’ll need to let it ferment longer. You can test the pH using strips – it should reach 4.5 or lower.
If fermentation still isn’t progressing, try adding a bit of raw, unpasteurized ACV with “mother” to jumpstart the process.
Remember to keep your container covered with a breathable cloth to prevent fruit flies while allowing airflow.
Frequently Asked Questions
Can I Use Apple Cider Vinegar Immediately After the Second Fermentation Is Complete?
You’ll want to let your apple cider vinegar mellow for about 2-4 weeks after fermentation’s complete. This aging process ensures you’ll get that smooth, balanced flavor you’re looking for.
Is Homemade Apple Cider Vinegar Safe for Pregnant Women to Consume?
You should consult your doctor before consuming homemade ACV while pregnant. Unlike store-bought versions, your homemade vinegar’s acidity levels aren’t standardized, which could pose potential risks during pregnancy.
Why Does My Homemade Apple Cider Vinegar Taste Different From Store-Bought Versions?
Your homemade vinegar’s unique taste reflects the apples you’ve chosen and its natural fermentation process. Store-bought versions often contain standardized blends and may include additives for consistent flavor.
Can I Mix Different Apple Varieties When Making Apple Cider Vinegar?
You can definitely mix apple varieties – it’s a great way to create unique flavor profiles! Sweet and tart combinations work especially well, giving your vinegar a more complex, balanced taste.
How Long Does the Mother of Vinegar Remain Active for Future Batches?
You can keep using your mother of vinegar indefinitely if you maintain it properly. Just store it in a clean jar with some vinegar and it’ll stay active for multiple batches.