How to Get Rid of Scars Naturally With This DIY Trick!
You can naturally fade scars at home using a powerful DIY treatment made with honey, lemon juice, and lavender essential oil. Simply mix 2 tablespoons of honey with 1 tablespoon of lemon juice and 3 drops of lavender oil, then massage the mixture onto clean skin for 15-20 minutes daily. While newer scars may fade within 3-6 months, consistency is key for optimal results. Discover how this natural remedy works with your body’s own healing process.
Understanding Different Types of Scars
Before you can effectively treat scars, you’ll need to identify which type you’re dealing with.
Like many of us who want to improve our skin’s appearance, understanding your scar type is the first step toward successful treatment.
Atrophic scars appear as depressions in the skin, commonly resulting from acne or chickenpox.
Hypertrophic scars are raised but stay within the original injury’s boundaries, while keloid scars grow beyond the injury site.
You might also have contracture scars from burns, which can affect deeper tissues, or stretch marks from pregnancy or weight changes.
Surface scars are typically pink or brown and fade over time.
These include acne marks and minor cuts that heal without significant texture changes.
The Science Behind Natural Scar Healing
Understanding how your body naturally heals scars can help you choose the most effective treatment methods. When your skin is injured, your body launches a complex healing process that includes inflammation, tissue formation, and remodeling. During this process, your body produces collagen fibers to repair the damaged area.
Your skin’s natural healing abilities rely on proper hydration, nutrition, and blood flow. When you support these processes, you’re working with your body’s innate healing mechanisms. Key proteins and enzymes break down old scar tissue while promoting healthy new cell growth.
Your skin also contains special cells called fibroblasts that help rebuild damaged tissue and regulate collagen production. By understanding these biological processes, you’ll be better equipped to support your body’s natural scar-healing abilities.
Key Ingredients for Your DIY Scar Treatment
Several powerful natural ingredients can effectively reduce the appearance of scars when used in DIY treatments.
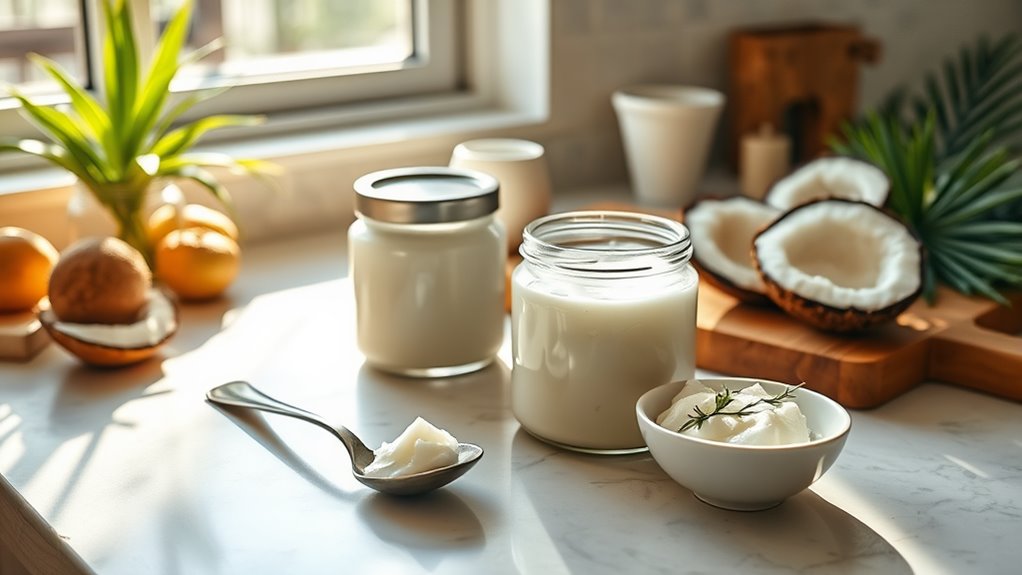
You’ll want to include vitamin E oil, which helps regenerate skin cells, and raw honey, known for its antibacterial and healing properties.
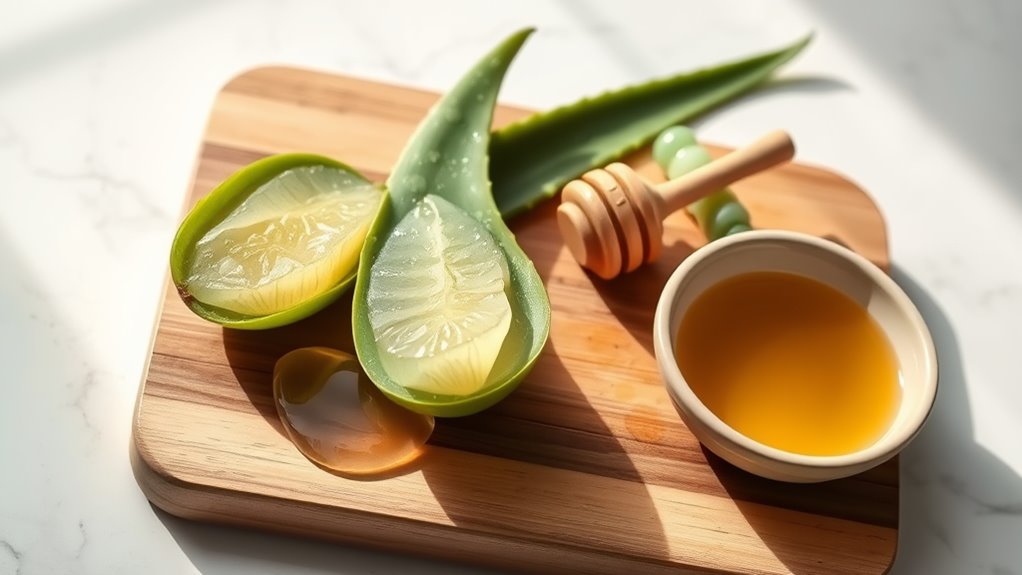
Another must-have is aloe vera gel, which soothes the skin while promoting collagen production.
Don’t forget to add rosehip oil, rich in vitamin C and essential fatty acids that help fade discoloration.
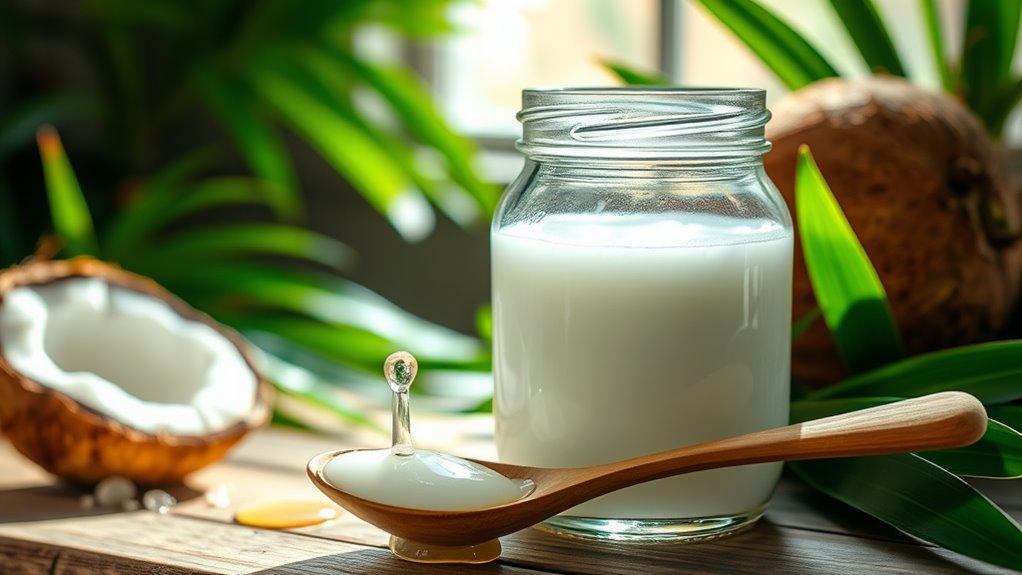
Many in our natural healing community also swear by coconut oil‘s moisturizing benefits and lavender essential oil’s skin-repairing properties.
For best results, you’ll need organic apple cider vinegar too – it helps balance your skin’s pH while gently exfoliating the scar tissue.
Together, these ingredients create a potent blend that’s both gentle and effective.
Step-by-Step Natural Scar Removal Recipe
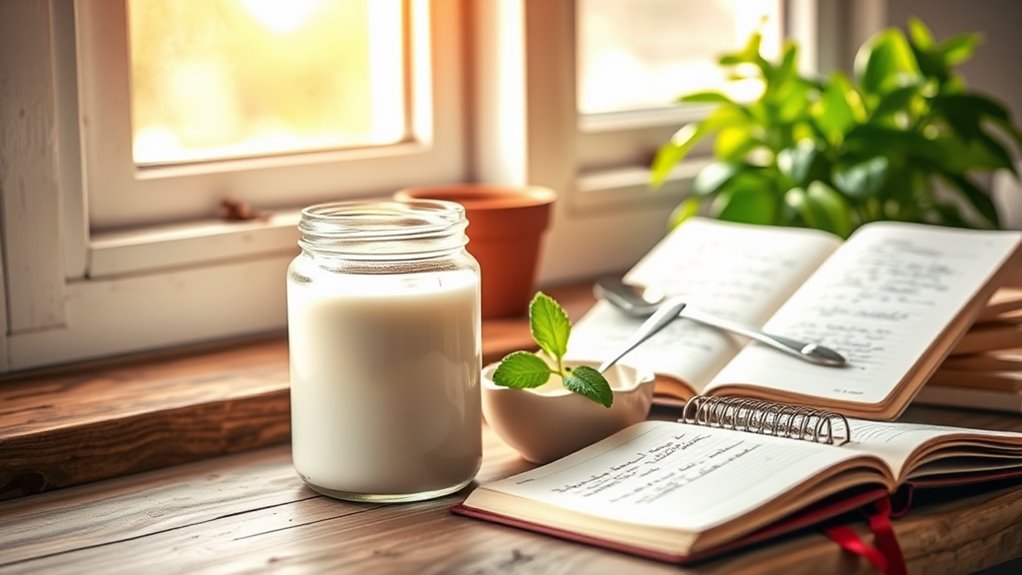
Creating your own natural scar treatment at home starts with properly measuring and combining the key ingredients mentioned above.
Mix 2 tablespoons of honey with 1 tablespoon of fresh lemon juice in a small glass bowl. Add 3 drops of lavender essential oil and stir until well combined.
Before applying your mixture, cleanse the affected area with mild soap and warm water. Pat your skin dry with a clean towel.
Using clean fingers or a cotton ball, gently massage the treatment onto your scar in circular motions. Let it sit for 15-20 minutes, then rinse with lukewarm water.
You’ll want to apply this treatment once daily, preferably before bedtime, when your skin’s natural healing process is most active.
Store any leftover mixture in an airtight container in the refrigerator for up to one week.
Application Tips and Best Practices
To maximize the effectiveness of your natural scar treatment, you’ll need to follow these essential best practices. Apply your treatment consistently at the same time each day, and always start with clean, dry skin. Remember to be gentle – harsh scrubbing can worsen scarring and irritate your skin.
| Time | Action | Important Note |
|---|---|---|
| Morning | Cleanse & Pat Dry | Use lukewarm water |
| Pre-Application | Patch Test | Wait 24 hours |
| During Application | Gentle Circular Motion | Never scrub harshly |
| Post-Application | Let Absorb | Wait 10 minutes |
Don’t skip applications – consistency is key to seeing results. You’ll want to protect the treated area from sun exposure by wearing sunscreen or keeping it covered. Join our community of natural healing enthusiasts to share your progress and get support along your journey.
Recovery Timeline and Expected Results
Once you’ve established a consistent treatment routine, you’ll want to understand the typical healing timeline for natural scar reduction.
Most people start noticing gradual improvements within 4-6 weeks of regular treatment, though results vary based on scar type and age.
For newer scars (under 2 years old), you can expect to see significant fading within 3-6 months of dedicated treatment.
Older scars typically take 6-12 months to show noticeable changes.
While natural remedies won’t completely eliminate scars, you’ll likely see improvements in texture, color, and overall appearance.
Frequently Asked Questions
Can I Use This Treatment on Surgical Scars From Recent Operations?
You’ll need to wait until your surgical incision fully heals before trying any scar treatments. Always check with your doctor first to ensure it’s safe to begin.
Will This DIY Remedy Work on Decades-Old Childhood Scars?
Old scars are tougher to treat since they’ve fully healed, but you can still see improvement. While you won’t get complete removal, consistent natural treatments can help fade your long-term scars.
Should I Continue Using the Treatment if My Skin Becomes Itchy?
If you’re experiencing itchiness, you should stop the treatment immediately. Itching can signal an allergic reaction or skin irritation. Let’s protect your skin and consult a dermatologist instead.
Can I Apply Makeup or Sunscreen Over the Treated Area?
You’ll want to wait at least 24 hours before applying makeup. For sunscreen, you can apply it once the treatment’s fully dry, which helps protect your healing skin.
Does This Treatment Work Differently on Darker Skin Tones?
You’ll want to be extra careful with natural scar treatments on darker skin, as they can sometimes cause discoloration. It’s best to do a patch test first to avoid hyperpigmentation.